 Pinterest
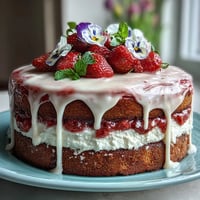
 One rain-spattered afternoon, as the spring breeze scattered petals across my kitchen windowsill, I tried my hand at baking these flower-shaped shortbread cookies. The aroma of butter and vanilla filled the air while my playlist hummed softly in the background. Spring always seems to sneak up on me, urging cheerful colors and fresh flavors into my routine. That day, rolling out dough felt strangely calming—each cutout like a little greeting to the season. Decorating them was unexpectedly therapeutic, turning a simple recipe into a miniature art project.
Last spring, my cousin came over with her two kids, and we spent the afternoon making these cookies together. The kitchen echoed with laughter as tiny hands pressed cookie cutters into dough, and we compared whose flowers turned out the most lopsided. Afterwards, we each took turns decorating with icing—mine ended up mostly pastel, while theirs went wild with bold colors and sprinkles. It’s a recipe that invites everyone to get a little creative and a little messy. We wrapped up the day with a plate of cookies, warm tea, and stories from the garden outside.
Ingredients
- Unsalted butter: Softening the butter is vital for fluffy, tender shortbread—set it out ahead of time for best results
- Powdered sugar: Sift to avoid lumps in your dough and icing, which makes all the difference
- Pure vanilla extract: A teaspoon gives gentle warmth—avoid imitation if you can
- All-purpose flour: Don't overmix after adding flour or the cookies get tough; just blend until a soft dough forms
- Salt: It’s subtle but rounds out the cookie flavor—don’t skip it
- Meringue powder: Helps set the royal icing so your decorations won’t smudge
- Food coloring (spring hues): Gel works great for vibrant shades, but liquid will do in a pinch
Tired of Takeout? 🥡
Get 10 meals you can make faster than delivery arrives. Seriously.
One email. No spam. Unsubscribe anytime.
Instructions
- Cream the butter and sugar:
- Grab your electric mixer and beat the softened butter with powdered sugar, watching for that pale, fluffy texture that's a sign they’re perfectly blended.
- Mingle vanilla, flour, and salt:
- Stir in the vanilla extract, then gently sift and add flour plus salt—mix slowly until just combined, and stop once a soft dough comes together under the beaters.
- Chill the dough:
- Divide the dough and shape into discs; wrap and chill for at least 30 minutes so they firm up for easier rolling.
- Preheat and prepare:
- Heat the oven to 350°F while lining baking sheets with parchment; this prevents sticking and makes cleanup so much easier.
- Roll and cut:
- Lightly flour the counter and roll dough to quarter-inch thickness; press flower cutters into the sheet, and transfer shapes carefully spaced onto your pans.
- Bake and cool:
- Slide the trays in and bake for about 10–12 minutes until the edges have just a hint of gold—let them cool briefly before moving to a wire rack.
- Mix the royal icing:
- Combine powdered sugar and meringue powder, then add water a tablespoon at a time until you have a thick, glossy icing.
- Color and decorate:
- Divide icing into bowls, stir in your chosen colors, then pipe floral designs onto cooled cookies and admire your edible artwork.
- Set and store:
- Allow icing to harden completely before stacking or storing; this keeps the cookies beautiful and ready for sharing.
 Pinterest
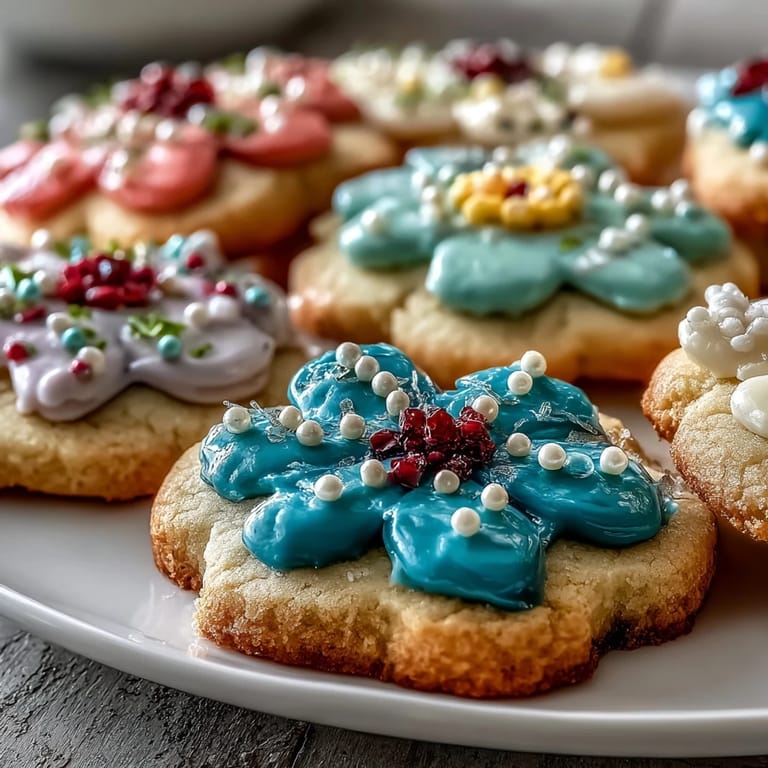
 The first time I brought these cookies to a spring picnic, people were genuinely delighted—some even asked if I’d bought them from a bakery. Sharing them outdoors, surrounded by new blooms and friendly chatter, made the recipe feel more like a seasonal tradition than just dessert. There’s something about floral shapes and pastel frosting that brightens the day.
Decorating Made Fun
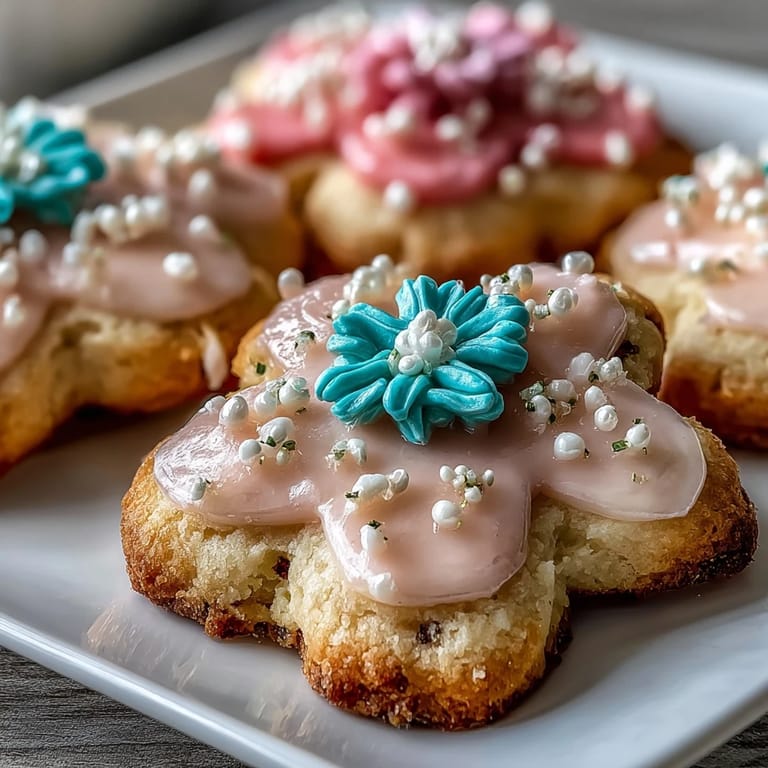
Painting each cookie felt a bit like playing with watercolor, especially when using gel food colors. I learned to layer colors for depth, sometimes blending shades to echo real flower petals. For a finishing touch, a few edible pearls or sprinkles always got smiles from kids and grown-ups alike. No need for perfection—improvised petals make every cookie unique.
Troubleshooting Tips
If your dough feels sticky after chilling, dust your rolling pin and countertop with extra flour—it’ll roll smooth in no time. On humid days, the royal icing may take longer to set; don’t rush, just let the cookies rest uncovered until dry. If the edges brown too fast, lower the oven rack to avoid over-baking.
Making Memories with Spring Cookies
Baking these cookies always marks the shift from winter to spring in my kitchen. The ritual of mixing, rolling, and decorating brings people together over laughter and creativity.
- Have extra piping bags handy so everyone can try their hand at decorating
- Set out napkins for easy cleanup as icing gets everywhere
- Let cookies dry completely before stacking to protect those pretty designs
 Pinterest
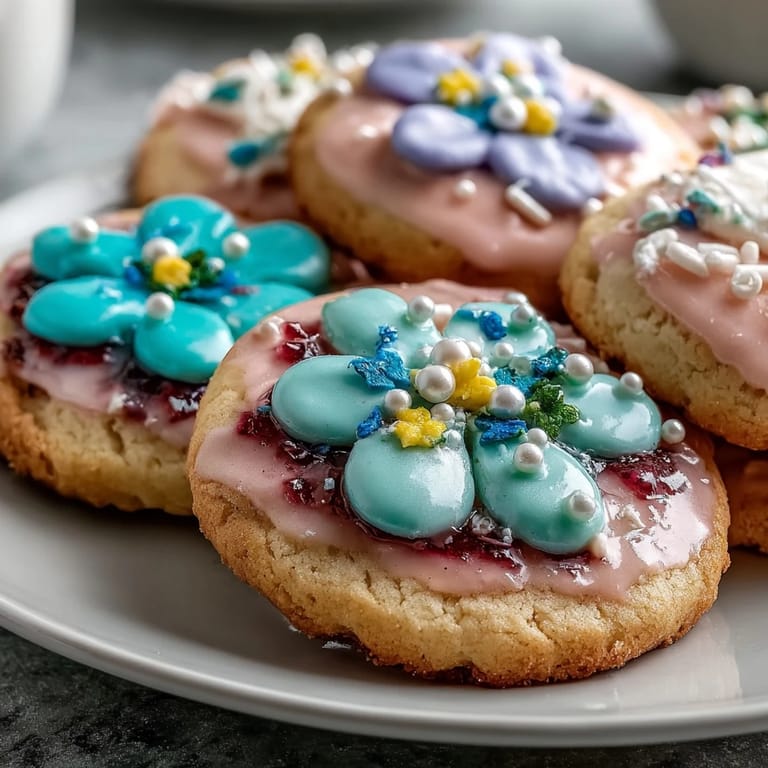
 Enjoy sharing these spring-inspired cookies—and don’t forget, the most treasured designs are often the ones made together. Happy baking and happy spring!
Recipe FAQs
- → How do I achieve vibrant icing colors?
Use gel or liquid food coloring and mix thoroughly into divided bowls of royal icing. Start with a little and add more as desired.
- → Can the dough be prepared in advance?
Yes, you can chill the prepared dough discs overnight. This may improve texture and flavor.
- → How do I get crisp flower shapes?
Roll dough evenly to 1/4-inch thickness and use sharp flower-shaped cookie cutters. Chill cut dough before baking for clean edges.
- → Can additional decorations be added?
Yes, edible pearls, sprinkles, or citrus zest can add extra flavor and visual appeal to the finished cookies.
- → How should these cookies be stored?
Once the royal icing is set, store cookies in an airtight container at room temperature for up to one week.