 Pinterest
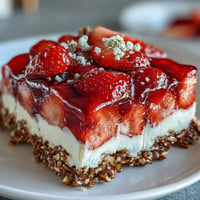
 My sister showed up one Saturday morning with a loaf still warm in foil, and I swear the whole kitchen smelled like a bakery had moved in. She sliced it right there on my counter, and when I saw that cream cheese ribbon running through the center with caramel swirled on top, I knew I had to learn how to make it. I begged her for the recipe before she even finished her coffee. Now it's the bread I bake when I want to feel like I'm giving someone a real gift, not just breakfast.
I made this for a brunch potluck once, and people kept asking if I'd ordered it from somewhere. One friend took a picture of her slice before eating it, which made me laugh because it really does photograph like a dream. The best part was watching everyone go quiet for a few seconds after their first bite. That cream cheese layer is the kind of surprise that makes people smile mid chew.
Ingredients
- Light brown sugar: Packed tight into the measuring cup, this gives the bread a caramel depth and keeps it incredibly moist for days.
- All purpose flour: The backbone of the batter, measure it by spooning into the cup and leveling off so the bread doesn't turn dense.
- Baking powder: Two tablespoons might seem like a lot, but it's what makes these loaves rise tall and fluffy without any yeast or waiting.
- Salt: Just a teaspoon balances all that sweetness and makes the caramel flavor pop.
- Eggs: Three total, two in the batter and one in the filling, they bind everything and add richness.
- Milk: Whole or 2 percent works best, but I've used almond milk in a pinch and it turned out fine.
- Vegetable oil: Keeps the crumb soft and tender, you can swap in melted butter if you want a richer flavor.
- Cream cheese: Must be softened or it won't blend smooth, leave it on the counter for at least 30 minutes before you start.
- White granulated sugar: Sweetens the cream cheese filling without adding any extra moisture.
- Caramel sauce: Store bought is easiest, but homemade tastes incredible if you have the time.
Tired of Takeout? 🥡
Get 10 meals you can make faster than delivery arrives. Seriously.
One email. No spam. Unsubscribe anytime.
Instructions
- Prep Your Pans:
- Heat the oven to 350 degrees and grease two loaf pans generously with butter or nonstick spray. Don't skip the corners or the bread will stick when you try to turn it out later.
- Mix the Dry Base:
- Whisk the brown sugar, flour, baking powder, and salt together in a medium bowl until there are no lumps. Break up any clumps of brown sugar with your fingers so everything blends evenly.
- Combine the Wet Ingredients:
- Beat the eggs, milk, and oil in a large bowl or stand mixer until smooth and slightly frothy. This takes about a minute on medium speed.
- Build the Batter:
- Add the dry mixture to the wet ingredients in three additions, stirring gently after each until just combined. Stop as soon as you don't see any dry flour, overmixing makes the bread tough.
- Divide the First Layer:
- Scoop half the batter into your two loaf pans, spreading it evenly across the bottom. It will look thin, but that's exactly right.
- Make the Cream Cheese Filling:
- Beat the softened cream cheese, granulated sugar, and egg in a separate bowl until completely smooth with no lumps. Scrape down the sides of the bowl halfway through to make sure everything is incorporated.
- Add the Cream Cheese Ribbon:
- Spoon the cream cheese mixture in a thick line straight down the center of the batter in each pan. Don't spread it out, just let it sit in that stripe.
- Top with Remaining Batter:
- Gently spoon the rest of the batter over the cream cheese, covering it as best you can without pressing down too hard. A few gaps are fine, it will bake together.
- Swirl the Caramel:
- Drizzle the caramel sauce in a zigzag over the top of each loaf, then take a butter knife and gently drag it through once or twice to create a marbled effect. Don't overdo it or the swirl disappears into the batter.
- Bake Until Golden:
- Slide the pans into the oven and bake for 50 minutes, until the tops are golden and a toothpick comes out mostly clean. A little cream cheese on the toothpick is normal and actually means the center is still creamy.
- Cool Before Slicing:
- Let the loaves cool in the pans for 10 minutes, then turn them out onto a wire rack to cool completely. Slicing too early makes the cream cheese ooze out, so wait even though it smells amazing.
 Pinterest
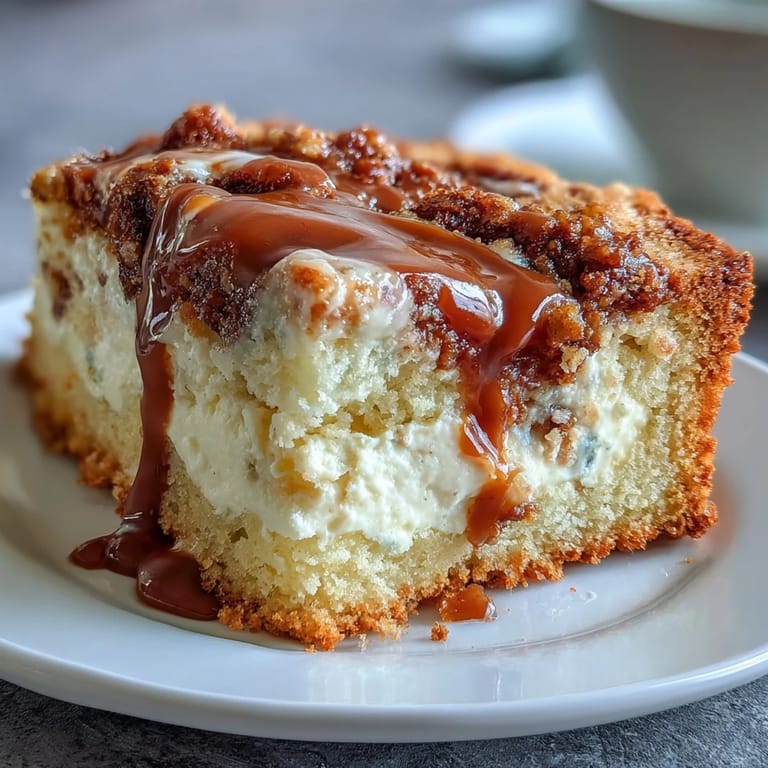
 I brought a loaf to my neighbor after her surgery, and she told me later that her husband ate half of it in one sitting while she napped. She wasn't even mad, she just asked me to make another one so she could actually taste it. That's when I knew this recipe was a keeper, when it causes gentle arguments over who gets the last slice.
How to Store and Reheat
Wrap each loaf tightly in plastic wrap or foil and keep it on the counter for up to three days, or in the fridge for a full week. The cream cheese filling stays fresher longer when it's chilled, but the bread tastes more tender at room temperature. I like to slice off what I need and warm it in the microwave for 15 seconds, just enough to soften the caramel and make the whole thing feel freshly baked again. You can freeze whole loaves or individual slices wrapped well for up to three months, then thaw overnight in the fridge.
Ways to Change It Up
Sometimes I press chopped pecans or walnuts into the top before baking, and the crunch against that soft cream cheese is perfect. You can also drizzle a simple powdered sugar glaze over the cooled loaves if you want it even sweeter, or add a teaspoon of vanilla extract to the batter for extra warmth. I've made mini loaves in smaller pans and baked them for 40 minutes, which are great for gifting. Muffin tins work too, just check them at 12 minutes and watch for golden tops.
Serving Suggestions
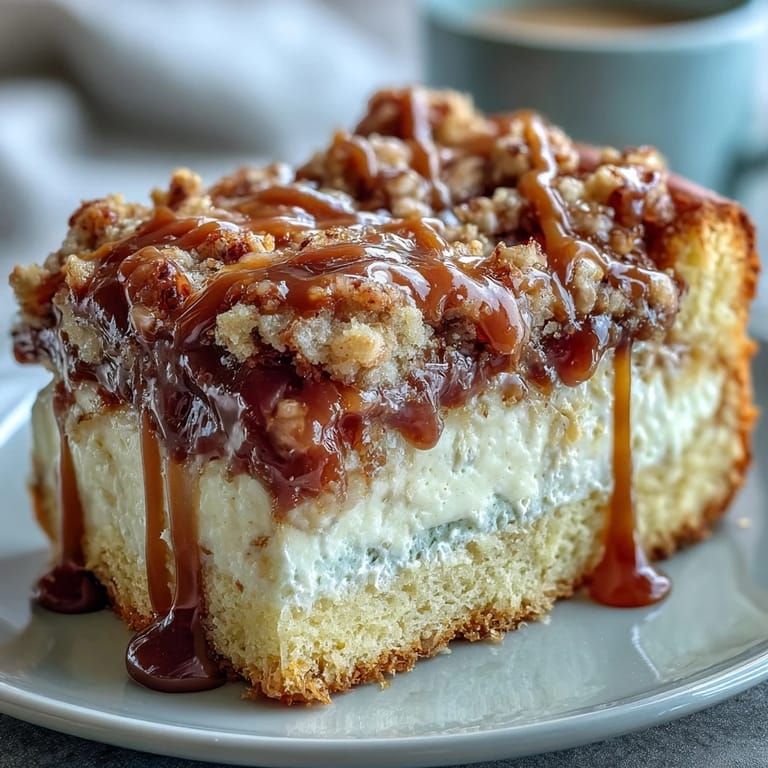
This bread is sweet enough to stand on its own, but I've served it with a dollop of whipped cream and fresh berries for dessert and it felt fancy without any extra work. It's also perfect alongside coffee or tea in the afternoon when you want something a little indulgent but not too heavy. My kids love it toasted with a thin smear of butter, which makes the caramel on top almost crispy.
- Serve warm with vanilla ice cream for an easy dessert that looks like you tried harder than you did.
- Pack slices in lunchboxes or wrap them in parchment for a sweet breakfast on the go.
- Pair with scrambled eggs and bacon for a sweet and savory brunch spread that feels complete.
 Pinterest
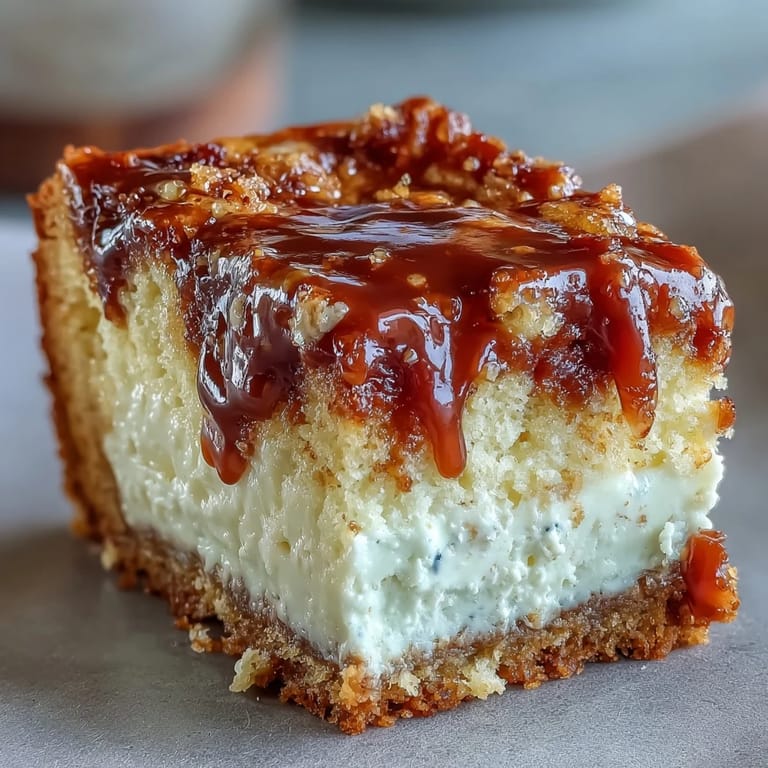
 Every time I pull these loaves out of the oven, I feel like I've done something special even though the recipe is almost foolproof. It's the kind of bread that makes people feel cared for, and that's worth the hour it takes.
Recipe FAQs
- → How do I know when the bread is done baking?
Insert a toothpick into the center of the loaf—it should come out mostly clean. Since there's cream cheese inside, a small amount of residue is acceptable, but wet batter means it needs more time.
- → Can I make this ahead of time?
Yes! The loaves freeze beautifully for up to 3 months. Wrap cooled loaves tightly in plastic wrap and foil, then thaw at room temperature when ready to serve.
- → What's the best way to swirl the caramel?
Use a knife to make gentle figure-eight motions through the batter just once or twice. Over-swirling will incorporate the caramel too much instead of creating distinct ribbons.
- → Can I use homemade caramel sauce?
Absolutely! Homemade caramel works wonderfully and often has deeper flavor. Just ensure it has cooled slightly before drizzling so it doesn't sink completely into the batter.
- → Why did my cream cheese sink to the bottom?
This can happen if the batter is too thin or the cream cheese mixture is too warm. Ensure your cream cheese is softened but not melted, and spread the batter evenly to support the filling.
- → Can I make this into muffins instead?
Yes! Use a standard muffin tin and reduce baking time to about 18-22 minutes. You'll get approximately 18-24 muffins depending on the size of your muffin cups.