 Pinterest
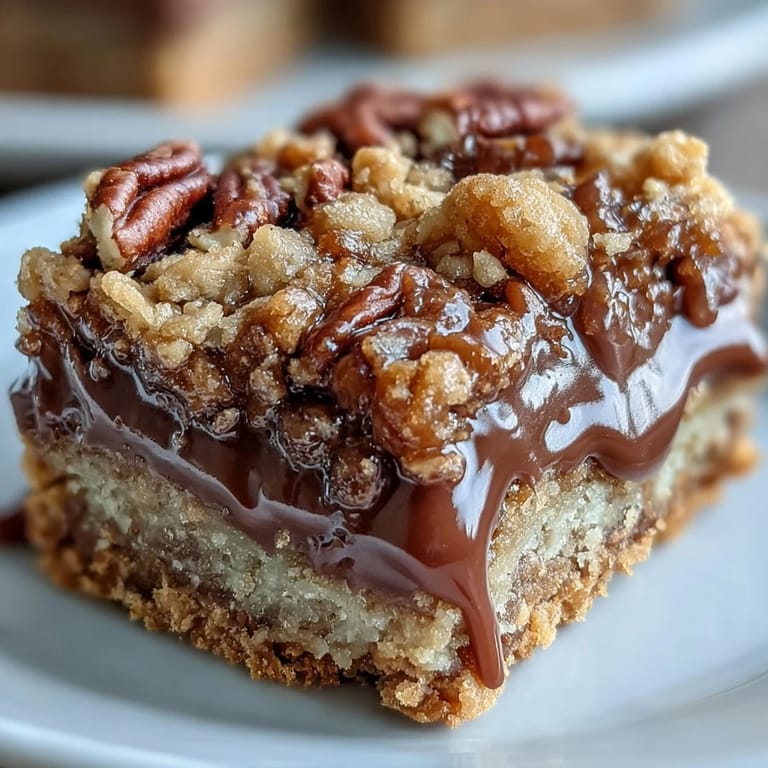
 The smell of toasted pecans has a way of stopping time in my kitchen. One autumn afternoon, I pulled a pan of these turtle bars from the oven and watched caramel bubble lazily around the edges, pooling into glossy pockets between chocolate chips. My neighbor knocked just as I was cutting the first square, and we ended up eating three each, standing at the counter with napkins and no shame. That batch never made it to the potluck I'd planned.
I made these for my brother's birthday once, doubling the batch because I know his friends. The pan sat on the counter for maybe twenty minutes before it was empty, just a few smears of caramel left behind. Someone asked if I'd opened a bakery, and I just laughed, because the truth is these bars are simpler than they look. The hardest part is waiting for them to cool completely before cutting, and I'll admit I don't always succeed.
Ingredients
- All-purpose flour: Forms the tender base of the crust and topping, binding the oats without weighing them down.
- Rolled oats: Old-fashioned oats work best here for texture, giving you those chewy, rustic pockets that make each bite interesting.
- Packed brown sugar: Adds moisture and a hint of molasses that plays beautifully with caramel.
- Granulated sugar: Balances the brown sugar and helps the crumb mixture crisp up in the oven.
- Unsalted butter, melted: Melting the butter instead of creaming it keeps the crust crumbly and easy to press into the pan.
- Salt: Just a pinch sharpens all the sweet notes and keeps the bars from tasting flat.
- Baking soda: A small amount helps the topping brown evenly and adds a little lift.
- Semi-sweet chocolate chips: They soften into puddles of chocolate when you pour hot caramel over them, creating that signature turtle effect.
- Chopped pecans: Toast them lightly if you have time, the nutty aroma makes the whole house smell like a candy counter.
- Caramel sauce: Store-bought works perfectly, but homemade caramel turns these bars into something you'd wrap in a ribbon.
- Heavy cream: Loosens the caramel so it spreads easily and stays glossy even after it cools.
Tired of Takeout? 🥡
Get 10 meals you can make faster than delivery arrives. Seriously.
One email. No spam. Unsubscribe anytime.
Instructions
- Prep Your Pan:
- Preheat the oven to 350°F and grease a 9x9-inch baking pan generously with butter, or line it with parchment paper for easy lifting later. I like to leave a little overhang on two sides so I can pull the whole slab out and cut clean squares.
- Mix the Crumb Base:
- In a large bowl, stir together the flour, oats, both sugars, melted butter, salt, and baking soda until the mixture looks like damp sand with small clumps. Reserve 1 cup of this mixture in a separate bowl for the topping, then press the rest firmly into the bottom of your prepared pan to form an even crust.
- Bake the Crust:
- Slide the pan into the oven and bake for 10 minutes, just until the edges start to turn pale gold. This step sets the base so it doesn't get soggy under all that caramel.
- Make the Caramel Layer:
- While the crust bakes, pour the caramel sauce and heavy cream into a small saucepan over medium-low heat. Stir constantly with a wooden spoon until the mixture is smooth and glossy, then remove it from the heat.
- Layer the Filling:
- Pull the crust from the oven and immediately scatter the chocolate chips evenly over the warm surface, then sprinkle the chopped pecans on top. Pour the warm caramel sauce over everything, letting it find its way into every corner.
- Add the Crumb Topping:
- Sprinkle the reserved crumb mixture evenly over the caramel layer, covering as much surface as you can. Don't worry if a few spots peek through, that's part of the rustic charm.
- Finish Baking:
- Return the pan to the oven and bake for 15 to 20 minutes, until the topping turns golden brown and smells like buttered toffee. The caramel will bubble up around the edges, which is exactly what you want.
- Cool Completely:
- Set the pan on a wire rack and let it cool completely before cutting, at least 30 minutes. The caramel needs time to firm up, or your squares will slide apart when you try to lift them.
 Pinterest
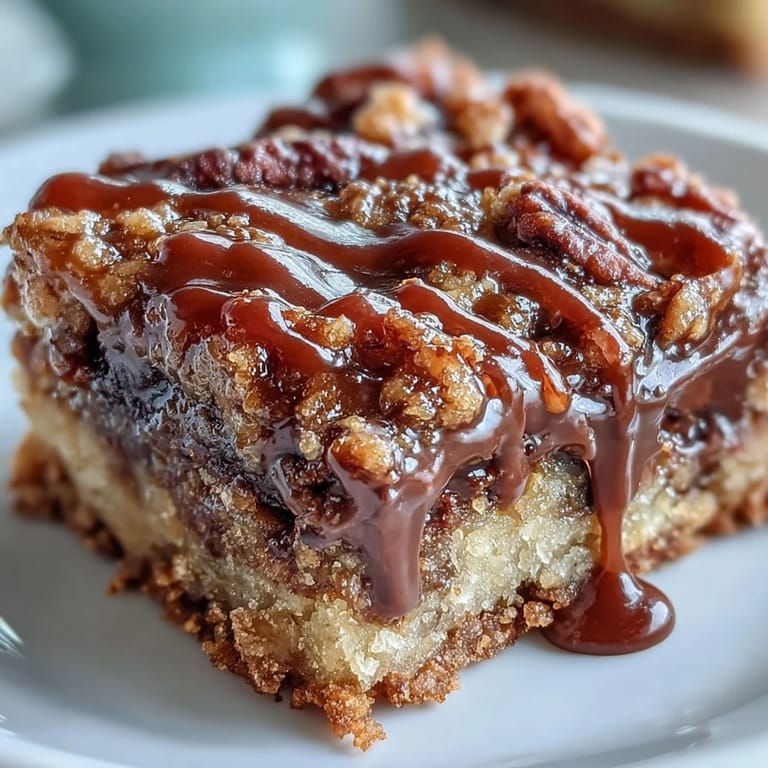
 One evening, I packed a tin of these bars for a friend going through a rough week. She texted me later that night saying she'd eaten two in the car before she even made it home. Sometimes a little square of chocolate, caramel, and crunch is exactly the comfort someone needs, no words required.
Serving and Storage
These bars taste best at room temperature, when the caramel is soft but not sticky and the chocolate has that melt-in-your-mouth quality. If you want to get fancy, drizzle a little melted dark chocolate over the top in thin lines before serving. Stack them on a plate with a dusting of flaky sea salt, and people will think you spent all day in the kitchen. Store any leftovers in an airtight container at room temperature for up to a week, though I've never had a batch last that long. If you live somewhere warm, tuck them in the fridge to keep the caramel from going too soft.
Variations to Try
Swap the pecans for walnuts or slivered almonds if that's what you have on hand, each nut brings its own personality to the bars. For a salted caramel version, sprinkle a generous pinch of flaky sea salt over the caramel layer before adding the crumb topping. I've also made these with dark chocolate chips instead of semi-sweet, which gives them a more grown-up edge. If you want to go over the top, stir a tablespoon of bourbon into the caramel sauce for a warm, boozy note that pairs beautifully with the pecans.
What You Need to Succeed
A 9x9-inch baking pan is non-negotiable here, anything larger and your bars will be too thin and crispy instead of chewy. Use a sturdy wooden spoon or spatula to press the crust into the pan, your hands work too but they get buttery fast. A small saucepan with a heavy bottom will heat the caramel evenly without scorching it. Keep a wire rack ready for cooling, setting the hot pan directly on your counter can warp it or leave a mark.
- A sharp knife dipped in hot water makes cutting through the caramel and chocolate much easier.
- If you are making your own caramel, have a candy thermometer handy to avoid burning the sugar.
- Parchment paper with overhang on two sides turns cleanup into a thirty second job.
 Pinterest
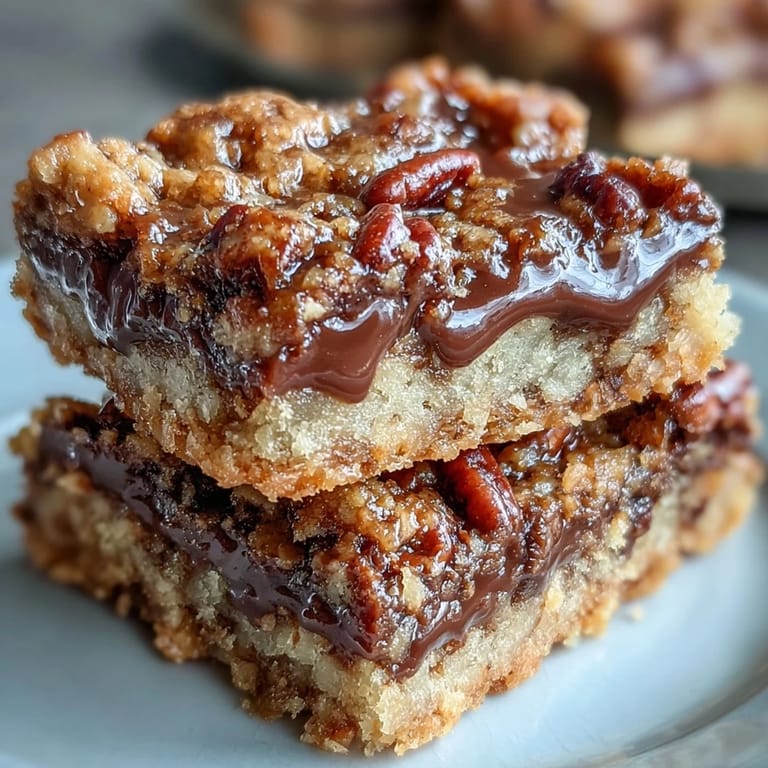
 These turtle bars have a way of turning an ordinary afternoon into something worth remembering. Bake a batch, share a few squares, and keep the rest tucked away for moments when only something sweet, chewy, and indulgent will do.
Recipe FAQs
- → Can I make these turtle bars ahead of time?
Yes, these bars keep exceptionally well in an airtight container at room temperature for up to one week. They actually develop deeper flavor after a day or two as the caramel and chocolate meld with the oat crust. You can also freeze them for up to three months—wrap individual squares in plastic wrap and place in a freezer-safe bag.
- → What's the best way to cut clean squares?
Patience is key—let the bars cool completely at room temperature before attempting to cut. For the cleanest edges, chill them in the refrigerator for about 30 minutes, then use a sharp knife wiped clean between each cut. Room temperature cutting works fine too, just expect slightly softer edges.
- → Can I use homemade caramel sauce?
Absolutely. Homemade caramel sauce works beautifully and often provides deeper, more complex flavor than store-bought versions. Just ensure it's warm and pourable when mixing with the heavy cream. If your homemade caramel is thick, gently warm it with the cream over low heat until smooth.
- → What nuts work best in these bars?
Pecans are traditional for turtle candies, but walnuts make an excellent substitution with their slightly bitter notes that balance the sweet caramel. Almonds or hazelnuts also work well. For maximum flavor, toast your nuts lightly in a dry pan for 3-4 minutes before sprinkling them over the chocolate layer.
- → Can I reduce the sugar in this recipe?
The sugars contribute to the chewy texture and proper crumb formation, so reducing them significantly may affect the final result. However, you could try substituting part of the brown sugar with a natural alternative like coconut sugar, though the texture will be slightly different. The chocolate chips and caramel provide substantial sweetness on their own.
- → Why is the crust par-baked before adding fillings?
Par-baking the crust for 10 minutes creates a slightly firm foundation that prevents the wet caramel and melted chocolate from making the bottom soggy. This brief bake also helps the crust hold its shape when you press the remaining crumb topping on top. It's a simple step that makes a big difference in texture.