 Pinterest
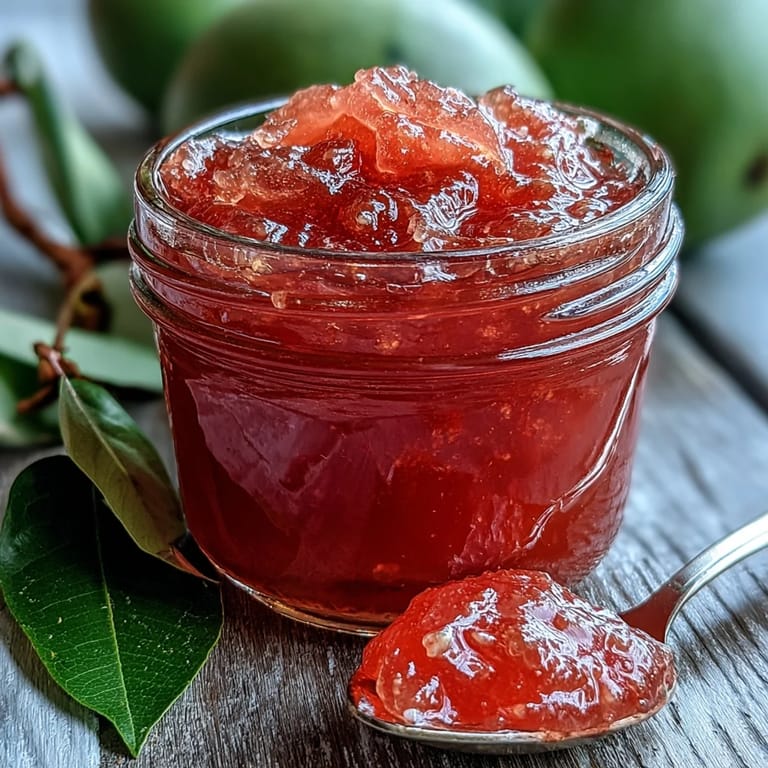
 The first time I encountered guava preserves was at a tiny breakfast spot in Miami, where the owner served it alongside cream cheese on toasted Cuban bread. That vibrant pink color and intoxicating floral aroma stopped me mid conversation. I went back three times that week, trying to decode what made it so different from every other jam I had ever tasted.
Last winter, when gray days had stretched on for weeks, I decided to recreate that Miami morning memory. The moment the guava began simmering with sugar and lemon, my gray kitchen suddenly felt like a tropical getaway. My kids wandered in asking what smelled so wonderful, and even my skeptical husband admitted this wasnt like any jam he had ever spread on a biscuit.
Ingredients
- Ripe guavas: Choose fruits that yield slightly to gentle pressure and have that unmistakable floral scent emanating from their skin
- Granulated sugar: This amount balances guavas natural tanginess while helping the preserve achieve that gorgeous glossy finish
- Fresh lemon juice: The acid is crucial for both brightening the tropical flavor and helping the preserves set properly
- Water: Just enough to help break down the fruit during that initial softening stage
Tired of Takeout? 🥡
Get 10 meals you can make faster than delivery arrives. Seriously.
One email. No spam. Unsubscribe anytime.
Instructions
- Prep the guavas:
- Wash each fruit thoroughly under cool water, then quarter them and scoop out those seeds with a spoon, being careful to save every bit of the precious pink flesh
- Soften the fruit:
- Place the guava flesh and water in a large saucepan and bring everything to a rolling boil, then drop the heat and let it simmer until the fruit turns tender and mashable
- Break it down:
- Use a potato masher to crush the softened fruit, or give it a quick whirl in the blender if you prefer a smoother consistency
- Strain out the seeds:
- Press the mixture through a fine sieve or food mill, working patiently to extract every drop of pulp while leaving any remaining seeds behind
- Start the transformation:
- Return that beautiful pink pulp to the saucepan, stir in the sugar and lemon juice until everything dissolves, and bring it back to a boil
- Let it thicken:
- Reduce heat to medium and simmer, stirring frequently and scraping the bottom of the pan, until the mixture coats the back of a spoon and passes the wrinkle test on a chilled plate
- Skim and jar:
- Remove any foam that has formed on the surface, then immediately pour the hot preserves into sterilized jars, leaving just a bit of headspace before sealing them tight
 Pinterest
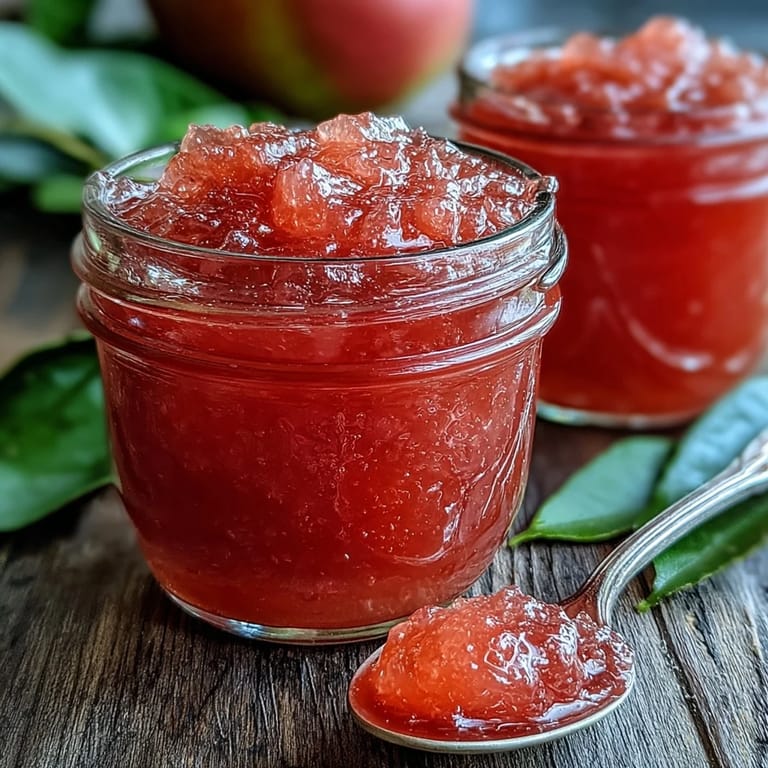
 This recipe has become my go to hostess gift, especially during the holidays when everyone is craving something that feels both special and comforting. I recently brought a jar to a dinner party, and the host texted me the next day asking if I would consider teaching a small preserving class in her kitchen.
Serving Suggestions That Surprise
Beyond the obvious toast application, try swirling a spoonful into plain Greek yogurt for an instant tropical breakfast upgrade. The tang of yogurt plays beautifully against guavas floral sweetness.
The Cheese Connection
Sharp aged cheddar or creamy goat cheese create the most sophisticated pairing imaginable. I once served a small crock of preserves alongside a cheese board, and it disappeared before the actual cheese did.
Storage Wisdom
Properly sterilized jars will keep these preserves fresh in the refrigerator for up to three months, though they rarely last that long in my house. For longer storage, process the jars in a boiling water bath for ten minutes.
- Always use a clean spoon when dipping into the jar
- Store jars in a cool dark spot away from direct sunlight
- The flavor continues to develop and deepen over the first few weeks
 Pinterest
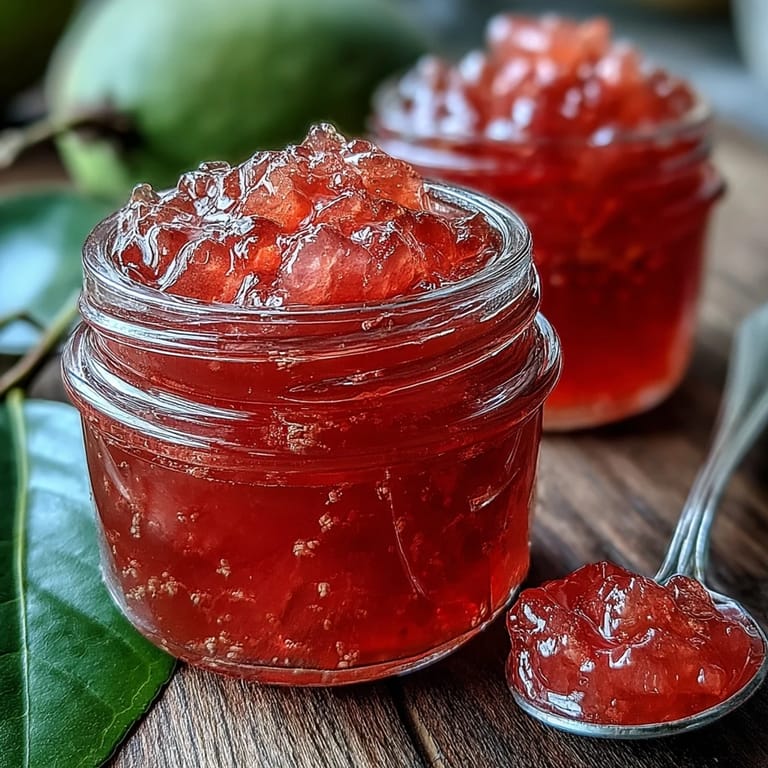
 There is something deeply satisfying about capturing the essence of tropical sunshine in a jar, ready to brighten even the coldest morning.
Recipe FAQs
- → How do I know when the preserves are ready?
Place a small amount of the hot mixture on a chilled plate. Let it cool for a minute, then push it with your finger. If the surface wrinkles, it's reached the perfect setting point. This should take about 35-45 minutes of simmering.
- → Can I use less sugar for a healthier version?
You can reduce the sugar slightly, but keep in mind that sugar helps with preservation and setting. If using significantly less sugar, the preserves may have a shorter shelf life and softer consistency. Consider storing in smaller quantities and consuming within a few weeks.
- → What's the best way to serve guava preserves?
Spread generously on warm toast or freshly baked bread. Pair with sharp cheddar, goat cheese, or creamy brie on crackers. Use as a filling for thumbprint cookies, Danish pastries, or between cake layers. Also delicious swirled into yogurt or oatmeal.
- → Can I make chunky preserves instead of smooth?
Absolutely. Reserve about one-third of the softened guava pieces before pressing through the sieve. After you've created the smooth pulp base, fold the reserved chunks back in. This creates a delightful texture with both smooth and fruit-filled elements.
- → How long do these preserves last?
When stored in sterilized jars and kept refrigerated, guava preserves will stay fresh for up to three months. For longer storage at room temperature, process the sealed jars in a boiling water bath for 10 minutes. Once opened, always refrigerate and use within a month.
- → What if my guavas aren't fully ripe?
Fully ripe guavas yield the sweetest, most flavorful preserves. If your guavas are slightly underripe, you may need to add a bit more sugar to balance the natural tartness. The preserves will still set well due to the higher pectin content in less ripe fruit.