 Pinterest
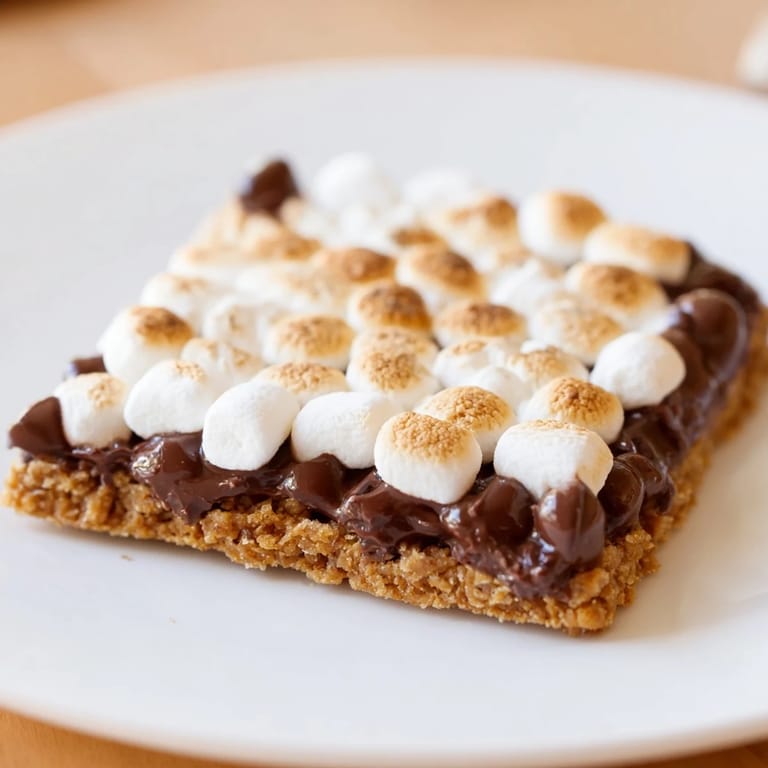
 There's something about summer that makes me crave the taste of campfire without leaving the kitchen. My nephew came home from scout camp raving about s'mores, but I wanted to give him something he could eat without the mess of melted chocolate on his chin. That's when I started playing around with turning those classic flavors into bars—and honestly, the first batch disappeared faster than I could cut them.
I remember my friend Sarah bringing these to a potluck last summer, and people kept asking if they were homemade because they tasted so much better than anything store-bought. Watching her face light up when someone took a second bite told me everything I needed to know about how special these really are.
Ingredients
- Graham cracker crumbs (1 1/2 cups): The foundation that holds everything together and brings that authentic s'mores flavor—don't skip crushing them finely or they'll feel too chunky.
- Unsalted butter, melted (1/2 cup): This binds the crust and keeps it from turning tough; melting it first ensures it soaks into every crumb.
- Granulated sugar (1/4 cup): Just enough sweetness to balance the salty graham crackers without overdoing it.
- Semi-sweet chocolate chips (1 1/2 cups): The layer that melts into gooey perfection—use quality chocolate here because it really matters.
- Mini marshmallows (3 cups): They toast beautifully on top and create those magical pockets of sweetness throughout.
Tired of Takeout? 🥡
Get 10 meals you can make faster than delivery arrives. Seriously.
One email. No spam. Unsubscribe anytime.
Instructions
- Create your foundation:
- Mix your graham cracker crumbs with melted butter and sugar until it looks like wet sand. You want every crumb coated but not mushy—it should hold together when you squeeze it.
- Press and bake the crust:
- Pack that mixture firmly into your parchment-lined pan with even pressure, then give it 8 minutes in a 350°F oven. You're just setting it, not browning it.
- Melt the chocolate layer:
- Scatter chocolate chips over the warm crust and pop it back in for exactly 2 minutes. The residual heat softens them perfectly without burning.
- Spread and build:
- Use a spatula to gently spread that chocolate into one even layer, then top with marshmallows, pressing each one down just slightly so they stay put.
- Toast to golden:
- Bake for 10 to 12 minutes until the marshmallows are puffed and turning that beautiful golden brown on top. You'll know it's right when the kitchen smells like toasted sugar.
- Cool and slice:
- Let them cool completely in the pan, then chill for an hour so you get clean cuts. Use that parchment overhang to lift everything out together.
 Pinterest
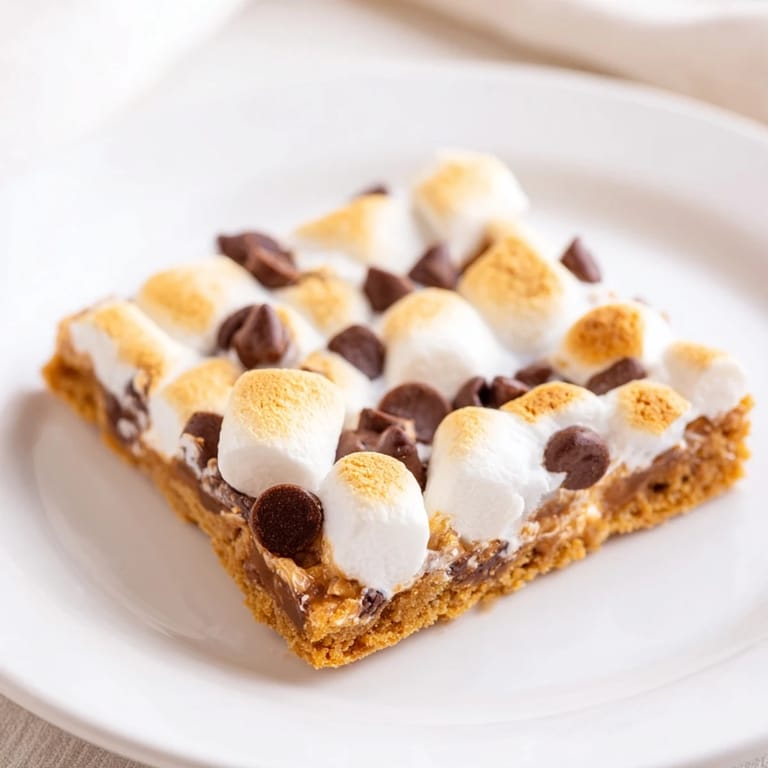
 There's a moment between pulling these from the oven and cutting into them where the kitchen fills with this sweet, toasted smell that just makes people stop and pay attention. That's when you know you've nailed it.
The Secret to Perfect Texture
The timing on those marshmallows is everything—they need just enough heat to puff up and toast the outside while staying gooey underneath. I learned this the hard way after overbaking a batch trying to get them extra golden. Now I set a timer and watch them carefully in those last few minutes, because the difference between perfect and overdone is literally 30 seconds.
Make Them Your Own
The beauty of these bars is how forgiving they are when you want to experiment. I've tried switching out the chocolate for dark chocolate when I'm feeling fancy, and once I even added a tiny pinch of cinnamon to the crust because my kitchen smelled like fall. My cousin swears by using digestive biscuits instead of graham crackers, and honestly, she's onto something.
Serving and Storage
These taste best served just slightly warm when the marshmallow is still a little soft and the chocolate has that fudgy consistency. If you're making them ahead, they'll keep in an airtight container for three days, though they're never around that long in my house.
- For maximum gooeyness, warm them gently in the oven for 2 minutes before serving.
- A serrated knife works better than a regular one for getting clean cuts through all those layers.
- Don't refrigerate them in the pan longer than overnight or the crust can start to get soggy.
 Pinterest
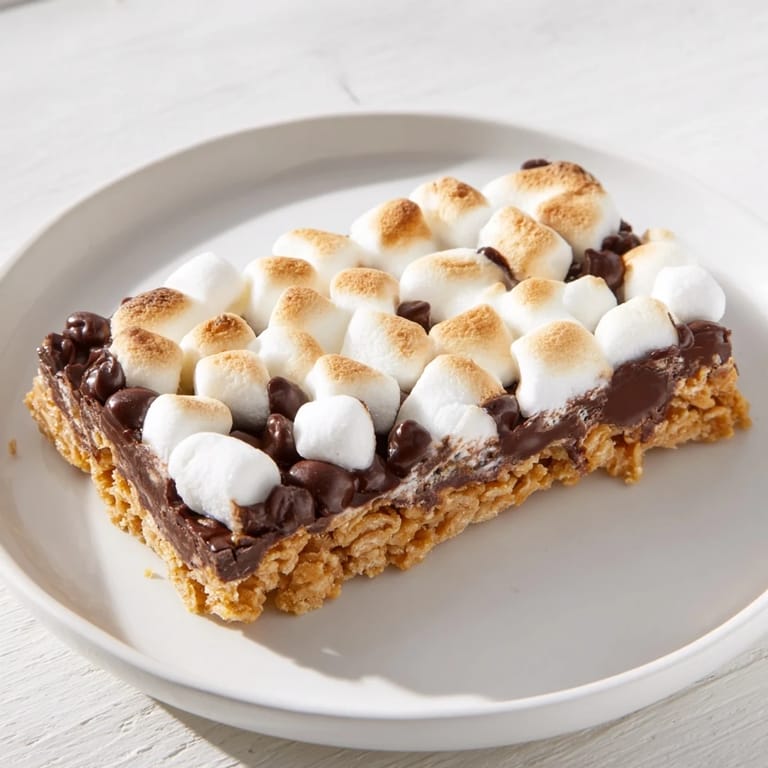
 These bars turned what could've been a summer memory into something you can make any time you want a taste of that campfire feeling. They're proof that the best comfort food doesn't require much more than butter, chocolate, and marshmallows.
Recipe FAQs
- → What type of chocolate works best?
Semi-sweet chocolate chips are recommended for a balanced sweetness and smooth melting consistency.
- → Can I make the crust without graham crackers?
Yes, digestive biscuits can be used as a substitute for a similar buttery, crisp texture.
- → How do I achieve gooey marshmallows on top?
Bake the marshmallows until golden and toasted, usually 10–12 minutes in the oven, to get that perfect gooeyness.
- → Is chilling the bars necessary?
Chilling for about an hour before slicing helps to firm up the bars, allowing for cleaner cuts.
- → Can I add flavor variations?
Adding a pinch of sea salt to the crust or using milk chocolate instead of semi-sweet can enhance the flavor profile.